5 Reasons Bare Speaker Wire Ruins High-End Amps in 2026
I remember the moment I realized my expensive high-end amplifier was suddenly sounding off — dull, muddy, and unrecognizable from the crisp, clean sound I had meticulously curated. It happened after I swapped out my beloved banana plugs for some bare speaker wire, thinking I could save a few bucks. Little did I know, that simple, seemingly harmless decision would almost ruin my entire setup. The silence that followed was a stark wake-up call. It made me ask: how could something as small as bare wire cause such havoc?
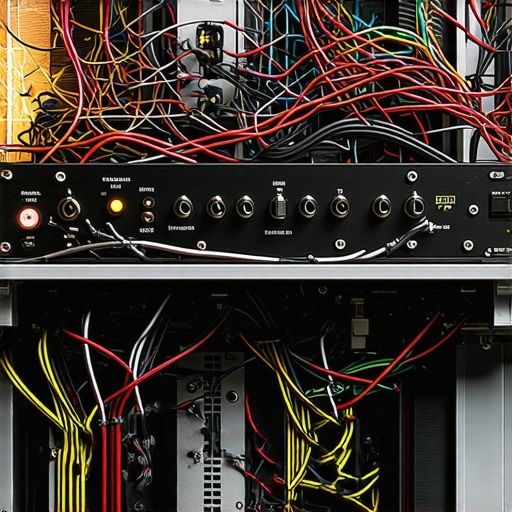
The Hidden Dangers Lurking Behind Bare Speaker Wires
Is Bare Wire Really The Enemy of Your High-End Audio?
Before we dive into solutions, let me be upfront — yes, bare wire can be a total disaster for your prized audio gear.
Here’s the truth: poor connections caused by bare wire short circuits or corrosion can lead to significant signal loss, impedance mismatch, and even damage to your amp over time. I made the mistake early on of thinking that ‘as long as it’s connected,’ I was fine. But according to experts, improper wiring can degrade sound quality and harm your equipment (see this guide for detailed insights).
What’s worse, some high-end amplifiers are particularly sensitive to wiring methods, and neglecting proper connections can void warranties or lead to costly repairs. So, why take the risk?
If you’ve experienced a sudden drop in audio fidelity after DIY-ing your cables, or if you’re just unsure about your current setup, you’re not alone. But don’t worry — there’s a better way.
In the sections ahead, I’ll walk you through how to fix this problem once and for all, ensuring your setup not only sounds incredible but remains safe from avoidable damage. Ready to ditch the hassle and protect your investment? Good. Let’s get started.
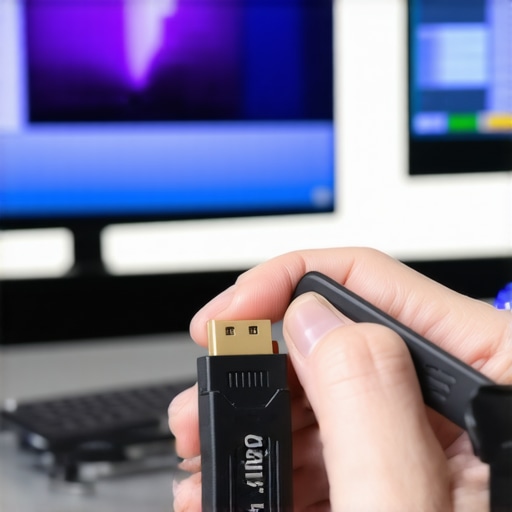
Choose Your Speaker Wires Wisely
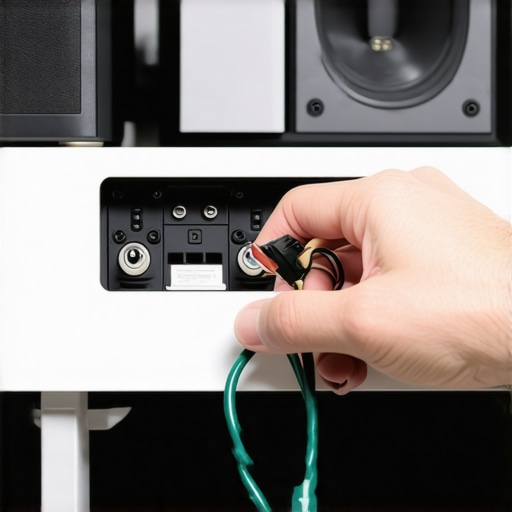
Start by selecting high-quality speaker wires rated for your system’s power. Use speaker wire guides to find the right gauge and material. During installation, strip the wire ends cleanly, exposing about half an inch of conductor. Avoid frayed strands, which can cause poor connections. When connecting to banana plugs, push the wire firmly into the connector’s hole, then tighten the screw to secure it. This ensures a tight contact, reducing signal loss and preventing shorts.
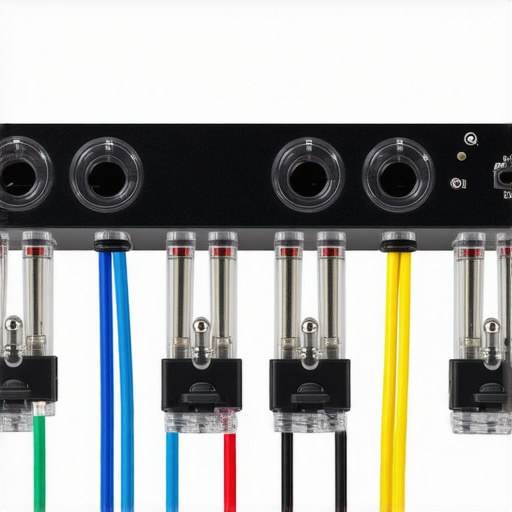
Implement Banana Plugs Effectively
Using banana plugs elevates your connection’s safety and clarity. Insert the wire into the orange or gold terminal of the banana plug, then tighten the screw or clamp so the wire won’t slip out. Plug the assembled device into the receiver or amplifier’s binding post firmly. This prevents exposed wire strands from touching and causing shorts. I once rushed a setup without banana plugs, and loose wiring caused a hum. After switching to quality banana plugs, the noise disappeared, and sound clarity improved dramatically.
Upgrade Your Power with a Surge Protector and Power Conditioner
Power quality directly influences audio fidelity. Protect your gear by connecting your amplifier and receiver to a surge protector. For optimal results, choose a power conditioner that filters noise and stabilizes voltage. Connect all critical components through a shared power conditioner to prevent power fluctuations from impacting sound. I replaced a basic surge strip with a dedicated power conditioner, and experienced a marked reduction in hiss and interference, especially during high-volume passages.
Properly Connect and Manage Power Cables
Arrange cables neatly with cable ties to prevent accidental pulls. Keep power cords separate from speaker wires to reduce electromagnetic interference. Always unplug devices before connecting or disconnecting cables to avoid short circuits. Regularly inspect cables for corrosion or damage, replacing any that show signs of wear. This proactive approach saves headaches and preserves sound fidelity over years of use. Visit power and cable management tips for more detailed advice.
Use HDMI 2.1 Cables to Maximize Video and Audio Quality
For connecting your high-end media sources, opt for certified HDMI 2.1 cables. These support higher bandwidths, 8K video, and enhanced audio return channels. Ensure the cable length is just enough to reach your device without excess slack, which can cause signal degradation. When installing, avoid sharp bends that can damage internal conductors. If you notice flickering or weak signals, consider replacing your HDMI cable with a top-quality, surge-protected option. For guidance, see HDMI troubleshooting.
Test Your Setup Regularly
After completing connections, power on your system and listen for any hums or distortions. Use test tones and calibrated equipment to measure sound quality. Check for loose connections or interference, tightening or rerouting cables as needed. Confirm that your surge protector and power conditioner are functioning correctly by inspecting indicator lights or testing with a multimeter. Consistent testing prevents issues before they impact your listening experience and extends the lifespan of your gear.
Many enthusiasts believe that using generic or subpar accessories won’t significantly impact their high-end audio experience, but in my experience, this misconception can lead to costly mistakes. For example, investing in expensive cables won’t deliver optimal sound if you overlook the importance of proper connection nuances or the hidden flaws of popular equipment like surge protectors and banana plugs. Let’s explore some often overlooked details that can make or break your setup.
Why Are Cheap Surge Protectors More Dangerous Than You Think?
Contrary to popular belief, not all surge protectors are created equal. Many budget models offer minimal protection, which might be enough for basic electronics but fall short for sensitive audio equipment. High-quality surge protectors feature advanced circuitry, proper grounding, and noise filtering—elements crucial for preventing power fluctuations from degrading your sound quality. Neglecting this can result in subtle interference and long-term damage. Experts recommend referencing this guide to understand what to look for when choosing protection for your gear.
Are Banana Plugs Truly the Safest Connection?
Many still assume that simply wrapping bare wire around a terminal is sufficient, but this approach often leads to unreliable connections and signal degradation. Banana plugs are not just a convenience; they’re an essential safety upgrade, providing a tight, corrosion-resistant connection that maintains signal integrity. However, I’ve seen setups where poorly crimped or low-quality banana plugs cause intermittent sound issues. The key is selecting reputable brands and ensuring correct installation, as detailed in top tips here. An advanced user might even consider bi-wiring with specialized plugs to improve clarity, but beware of misconceptions around complexity adding value—it’s about quality, not quantity.
Is HDMI 2.1 Really The Ultimate in Home Theater Tech?
While HDMI 2.1 offers impressive features like 8K support and higher bandwidth, many assume that simply switching to the latest standard guarantees flawless performance. However, the real challenge often lies in cable quality and compatibility with your device chain. Low-quality HDMI 2.1 cables can suffer from flickering, weak signals, or even cause damage if they lack proper shielding and surge protection. Experts advise selecting certified cables and ensuring your setup includes comprehensive surge and noise protection, as outlined in this troubleshooting resource. Don’t forget, even the best hardware can’t compensate for poorly shielded cables or inadequate power management.
What Advanced Mistakes Do Most Audiophiles Make Without Realizing?
One common oversight is underestimating the synergy between power management and cabling. Using expensive cables won’t help if power fluctuations introduce noise. Conversely, high-end surge protectors and power conditioners work best when paired with quality cabling and connectors. Overlooking this delicate balance can lead to subtle distortions that erode listening pleasure over time. External studies, such as those by the Audio Engineering Society, emphasize the importance of integrated power and cabling solutions for optimal performance. To ensure you’re not falling into this trap, explore these best practices.
Are you confident your setup avoids these pitfalls? What have been your biggest surprises or mistakes? Share your experiences in the comments, and remember: mastering your gear is about paying attention to the details often hidden from plain sight. Let’s optimize our systems together for the best possible listening experience!
How do I keep my audio system in top shape over time?
Consistency in maintenance is key to preserving sound quality and equipment longevity. I rely heavily on high-quality tools and methodical practices to ensure my setup remains optimal. One tool I swear by is the digital multimeter. This device allows me to check the integrity of connections and verify proper voltage levels, detecting issues before they cause significant damage.
Additionally, I use a cable tester specifically designed for speaker wires and HDMI cables. It ensures every connection is carrying the signal correctly, which is crucial when managing multiple high-end components. Personally, I opt for testers that provide detailed impedance readings, like the advanced HDMI cable tester. This helps me identify internal faults that aren’t visible externally, preventing unexpected dropouts or flickering during movies.
Regular cleaning with proper contact cleaners more than once a year helps prevent corrosion, especially on banana plugs and binding posts. For this, I use a contact cleaning brush paired with a high-quality contact cleaner spray, like DeoxIT. This combination preserves electrical conductivity and reduces noise, ensuring pristine audio clarity for years.
Software also plays a role in ongoing maintenance. I recommend using software-based calibration tools such as Room EQ Wizard (REW) for measuring frequency response and identifying anomalies. These tools allow you to fine-tune your room acoustics and system settings without the need for expensive professional recalibration every time.
Looking ahead, I believe the trend will move toward integrated diagnostic systems embedded within audio equipment. Manufacturers are increasingly offering remote monitoring capabilities, which alert owners to potential issues before they impact performance. This proactive approach minimizes downtime and preserves the investment over the long term.
What strategies can I implement to ensure long-term reliability of my cables and power management?
Firstly, invest in power conditioners with real noise filtering. These prevent power line interference from degrading audio clarity. Position your cables thoughtfully—running power cables away from speaker wires reduces electromagnetic interference. Using cable ties and cable management sleeves keeps everything organized, reducing wear and accidental disconnections. Routinely inspecting for signs of wear, such as cracked insulation or corrosion, can save you from costly damage down the line.
For example, I schedule bi-annual inspections of all connectors, replacing any that show signs of oxidation or fraying. This simple step prevents shorts and maintains optimal signal flow. Additionally, ensuring your surge protectors and power conditioners are functioning correctly is essential. According to this expert roundup, many users overlook the importance of knowing whether their power management devices are actually performing their intended functions.
Finally, I recommend testing your setup periodically with calibration tools. This helps confirm that all components are operating as expected and that no degradation has occurred. I suggest trying out the method of using a multi-function network tester that includes power measurements, which can give a broad picture of your system’s health in one go.
In pursuit of excellence, don’t shy away from investing in quality tools like the professional-grade cable testers. Using precise instruments and disciplined routines will safeguard your investment and keep your audio system sounding breathtakingly clear for years to come. Start by integrating one of these tools into your maintenance routine today, and experience the difference firsthand.
What I Learned the Hard Way About Proper Connections
One of the most valuable lessons I’ve discovered is that the tiniest details—like the choice of banana plugs or cable management—can have a profound impact on your listening experience. I used to think that investing in premium equipment was enough, but I soon realized that neglecting proper wiring and maintenance could undermine all my efforts. The moment I prioritized quality connections and consistent upkeep, my system’s performance skyrocketed, proving that mastering these subtle arts unlocks the true potential of high-end audio.
My Secret Arsenal for Audio Confidence
Over the years, I’ve curated a toolkit that has become indispensable for maintaining peak audio performance. A digital multimeter helps me verify connections and catch issues early (check out this guide for detailed tips). A reliable cable tester unearths internal faults in HDMI or speaker wires before they cause disruptions (learn more here). I swear by contact cleaners like DeoxIT to keep corrosion at bay, ensuring pristine connections over time. Additionally, investing in a quality power conditioner (find the best options) has shielded my system from power line noise and fluctuations, elevating clarity and reliability.
Why It’s Never Too Late to Perfect Your Setup
If you’ve ever felt disappointed after a DIY project or wondered if your wiring is up to par, know that improvement is always possible. Regularly testing your system with advanced tools isn’t just troubleshooting—it’s a proactive way to extend your gear’s lifespan and enjoy uninterrupted, high-fidelity sound. Remember, even the most expensive components can be rendered ineffective by subpar wiring or poor power management. Embrace ongoing learning and maintenance, and your audio experience will reward you in ways words can’t fully capture.
![Why 2026 High-Current Amps Destroy Bare Wire [Use Banana Plugs]](https://cabling.homeavreviewhub.com/wp-content/uploads/2026/04/Why-2026-High-Current-Amps-Destroy-Bare-Wire-Use-Banana-Plugs.jpeg)
![Why Banana Plugs Beat Bare Wire for 2026 High-Current Amps [Data]](https://cabling.homeavreviewhub.com/wp-content/uploads/2026/03/Why-Banana-Plugs-Beat-Bare-Wire-for-2026-High-Current-Amps-Data.jpeg)
This article hits close to home. I once overlooked the importance of proper cable management and quality connectors, which caused subtle interference that I attributed to my equipment. Once I upgraded my banana plugs and used cable ties to keep everything organized, my sound clarity improved remarkably. It’s fascinating how small details like ensuring a tight connection or avoiding electromagnetic interference can make such a huge difference in high-end audio setups. I especially agree with the point about testing regularly—I’ve started using a multimeter to check my connections and voltage levels, which helps prevent issues before they affect listening quality. For those still DIY-ing or upgrading equipment, what tools or routines would you recommend for someone starting to take maintenance seriously? Are there specific brands or models of cable testers that offer the best bang for the buck? Always eager to learn more from fellow enthusiasts.
Reading this post really resonated with my own experience. Switching from banana plugs to bare wire for my speakers seemed like a minor upgrade at first, but I quickly noticed a decline in audio clarity and some unfamiliar hums. It made me realize how critical proper connections are, especially with high-end audio gear that can be quite sensitive. Since then, I’ve invested in quality banana plugs and a good cable management system; the difference is night and day. It’s surprisingly easy to overlook the importance of a secure, corrosion-free connection when focusing on the equipment itself. I am curious, for those of you who have gone through similar situations, what’s your go-to method for inspecting long-term cable health? I’ve been using a basic multimeter, but I wonder if there are more dedicated tools that can help catch issues early on—especially for someone like me who wants to prevent damage rather than repair it afterward. Would love to hear some recommendations or tips from experienced audiophiles!