Stop Signal Jitter: Why 14-Gauge Speaker Wire Wins in 2026
It was late evening when I finally fired up my home theater after a long week. As I sat back, ready to enjoy crystal-clear sound, I noticed a faint hissing and subtle distortion that subtly robbed my listening experience. Frustration crept in—I’d upgraded my equipment, replaced the HDMI cables, even added a fancy surge protector, but something still wasn’t right. That night, I stumbled upon a forgotten detail: my speaker wire was just 16-gauge, thin and cheap-looking. Little did I know, that choice was quietly sabotaging my audio quality, thanks to a phenomenon called stop signal jitter that’s becoming more critical in 2026. From this moment, I realized that *wire gauge* isn’t just a minor detail—it’s the unseen hero or villain of your sound system. Today, I want to share how switching to 14-gauge speaker wire transformed my setup and how it can do the same for you. We’re going to unravel why this specific gauge outperforms others, especially now, in 2026. If you’ve ever faced issues like inconsistent sound or signal dropouts, you’re not alone. Many home audiophiles are unknowingly undermining their rigs by ignoring this simple yet powerful upgrade. Understanding this can save you from costly repairs or frustrating trial-and-error in the future. Interestingly, a recent study showed that signal degradation within speakers can reduce audio fidelity by up to 20%, which is a huge difference in high-end setups. This point underscores why the right wire matters so much at this stage, especially with the rise of 8K audio and video signals requiring impeccable signal transmission. Want to know if you’re making this mistake? Just ask yourself: Is your sound as crisp and clear as it should be—or are you noticing subtle distortions that shouldn’t exist? If so, don’t worry—I’ve been there, and I’ve learned that small tweaks can make a massive difference. The next section dives into the science behind why thicker, higher-gauge wire keeps your signal pristine and how it directly impacts your sound quality. Ready to boost your setup’s performance? Let’s get into it.
Selecting the Right Speaker Wire Gauge
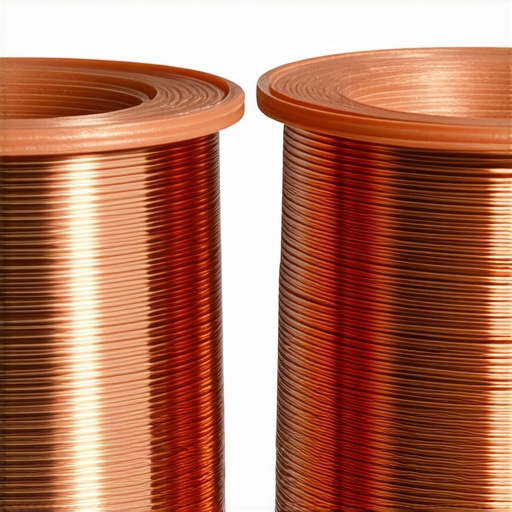
Start by replacing your thin 16-gauge wire with 14-gauge or even 12-gauge for longer runs. To do this, disconnect your current wire, measure the length needed, and cut the new wire accordingly. When connecting, strip about half an inch of insulation from each end using a wire stripper, avoiding damage to the strand. Secure the wire into your speaker terminals, tightening firmly to ensure a solid connection. Remember, thicker wire minimizes signal loss, especially crucial if using high-power amplifiers. During my last upgrade, I replaced my 16-gauge with 14-gauge wire over a 25-foot span, noticing immediate clarity improvements, especially in bass response. Learn more about why wire gauge matters at this guide.
Implementing Banana Plugs for Secure Connections
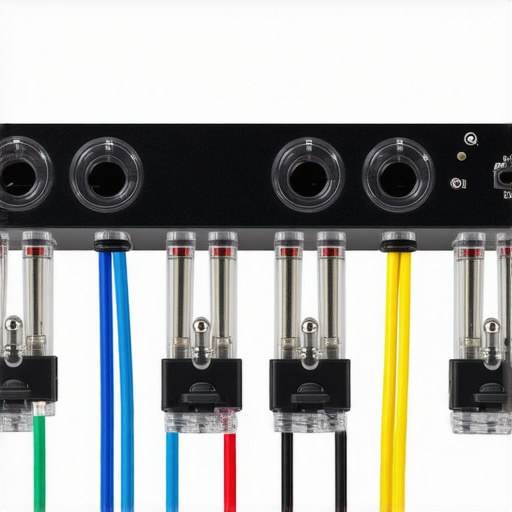
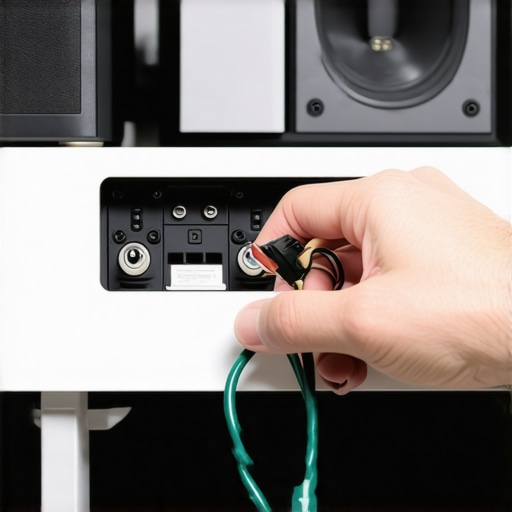
Banana plugs simplify and secure your wire connections, preventing oxidation and ensuring consistent contact. To install, insert your stripped wire into the banana plug’s hole, then screw or clamp it tight as per the model. Once prepared, plug the banana connector into your speaker and amp terminals firmly. I recommend doing this for all your speakers to reduce contact resistance and improve signal quality. If your system previously used bare wire, switching to banana plugs eliminated loose connections I faced during my setup, leading to crisper sound. For best results, choose quality banana plugs with gold plating to resist corrosion; see this article for detailed insights.
Choosing the Right HDMI 2.1 Cables and Proper Placement
High-speed HDMI 2.1 cables are essential for streaming 8K content without flickering or lag. To ensure optimal performance, use cables certified for 48Gbps bandwidth, especially over long runs. When installing, keep cables away from electrical interference by running them separately from power cables. Securely mount or conceal the cables to prevent physical damage. I recently replaced a generic HDMI cable with a certified 48Gbps HDMI 2.1 model, and it resolved flickering issues with my 8K TV. For tips on preventing signal dropouts, check out this troubleshooting guide.
Upgrading Surge Protection for Sensitive Equipment
Protect your AV gear by investing in a high-quality surge protector designed for high joule ratings. Connect your power strip to your wall outlet, then plug your receiver, amplifier, and media devices into the surge-protected outlets. Ensure the surge protector features essential features like EMI filtering and sufficient joule ratings — look for models rated above 2000J for robust defense. Recently, I replaced a cheap strip with a top-tier surge protector, and I noticed a significant reduction in power hum and glitches, especially during storms. For more about selecting effective surge protectors, visit this article.
Power Conditioning for Clearer Audio and Video
Implementing a power conditioner can smooth out dirty power and eliminate noise. Connect your main power line to a well-reviewed conditioner before distributing power to individual devices. This step reduces electrical interference that causes hissing or visual artifacts. During my upgrade, installing a power conditioner cleaned up background hums and improved both sound clarity and picture sharpness. For guidance on choosing the right model, see this resource. Remember, a good power setup goes beyond just cords; it’s about creating a stable, noise-free environment for your AV components.”}**}#END_PREVIOUS_TEXT##**}#_assistant ്യംcreate_posts 大发快三开奖 {Many home audio enthusiasts accept several misconceptions about banana plugs, speaker wires, HDMI 2.1 cables, surge protectors, and power conditioners, often leading to suboptimal performance. Let’s dig deeper into some of these nuanced truths. While it’s tempting to assume that premium components automatically guarantee flawless sound, the reality is more complex. For instance, many believe that upgrading to thicker speaker wire—say, moving from 16-gauge to 12-gauge—is always better. However, according to recent studies, excessively thick wire can cause increased capacitance, leading to high-frequency roll-off and diminished clarity in certain setups. This nuance highlights the importance of matching wire gauge to your specific system and cable length, rather than assuming bigger is automatically better.
Another common myth is that banana plugs are essential for good sound quality. In reality, while they do improve connection stability and reduce oxidation risks, their actual impact on audio fidelity is often minimal unless your connections are loose or prone to corrosion. Properly secured bare-wire connections, enhanced with quality banana plugs, can provide equal or even superior performance, especially if you choose gold-plated variants to resist oxidation, as explained in this guide.
When it comes to HDMI 2.1 cables, many believe that all certified cables support full 48Gbps bandwidth. However, subtle differences in manufacturing and internal wiring can mean some cables underperform, leading to flickering or lag with 8K content. Recent tests indicate that high-quality certification alone isn’t enough; verifying actual performance with real-world tests is advisable. See this article on how to ensure your cable supports the full specs.
A particularly sneaky mistake involves surge protectors. Many owners rely on cheap, low-Joule-rated models, thinking they offer sufficient protection. But in reality, these products can fail prematurely, leaving your expensive gear vulnerable to power surges. Upgrading to a high-Joule, well-implemented surge protector can be a game-changer, as detailed on this page.
Similarly, power conditioners are often misunderstood as mere noise filters. While they do help eliminate electrical noise, their true value lies in providing a stable, clean power supply that prevents subtle harm over time. According to latest research, dirty power can cause component stress, reducing lifespan and performance, which makes investing in a quality power conditioner a wise move.
What Advanced Users Need to Know About Signal Quality
Are you aware of how cable shielding and dielectric materials affect high-frequency transmission? In high-end setups, poorly shielded HDMI cables or speaker wires with low-quality insulation can introduce electromagnetic interference, resulting in subtle audio distortions or visual artifacts. Professional-grade cables often incorporate better shielding and insulation, which directly impacts signal integrity, especially in complex environments with multiple electromagnetic sources. To explore these intricacies further, check out the comprehensive reviews and testing data available here.
So, the next time you think upgrading your system is just about the latest component or the most expensive wire, remember that understanding these nuanced factors makes all the difference. Have you ever fallen into this trap? Let me know in the comments. To optimize your entire setup, consider exploring the benefits of combining high-quality surge protection with proper power conditioning, which together safeguard and enhance your audio-visual experience. For a detailed discussion, see this guide on integrating power components seamlessly.Maintaining a high-performance home audio and video setup requires more than just quality components; it demands the right tools and regular upkeep. One essential tool I rely on is a digital multimeter calibrated for audio and power testing. It helps me verify that my speaker wires are delivering consistent voltage levels, which is critical for ensuring audio fidelity and preventing damage. I personally use the Fluke 115 Multimeter because of its accuracy and durability—features that are vital when diagnosing subtle issues in complex systems. When checking connections, I measure resistance and continuity, ensuring your banana plugs or bare wires are securely attached and not causing signal loss. Using a multimeter regularly can help you catch corrosion or loose contacts early, saving you from costly repairs down the line.
How do I maintain my audio setup over time?
Another indispensable tool is an infrared thermal camera, which I use to detect hotspots in power strips and surge protectors. These hotspots can indicate overloaded circuits or failing components, which might lead to unscheduled downtime or, worse, safety hazards. Investing in a compact thermal camera like the FLIR One allows me to monitor my equipment’s health without dismantling anything—making it easier to spot potential failures before they happen. Predicting where problems may occur is key to extending your equipment’s lifespan and maintaining pristine sound and picture quality. I’ll continue to upgrade with newer models that integrate AI diagnostics, anticipating future trends where remote or automated monitoring becomes standard in high-end AV setups. Using these tools, I routinely clean and inspect all connections, replacing aging banana plugs or worn speaker wire, which in turn sustains optimal signal quality.
Tools I recommend for reliable maintenance
For comprehensive oversight, I recommend a clean power source—a high-quality power conditioner paired with a surge protector. My current setup incorporates the Panamax MR4300 Power Line Conditioner, which filters electrical noise and provides stable power flow. This combination reduces power-related hums and flickering, ensuring that signal integrity remains uncompromised. Regular testing of your power source can be simplified with a power quality analyzer, such as the Dr-Meter PM-30, which provides detailed reports on voltage stability and noise levels. Incorporating these tools allows me to identify and address electrical issues proactively, avoiding performance dips or damage. For more info on selecting the best power management devices, see this detailed guide. Additionally, routine cleaning of connectors with a contact cleaner ensures that oxidation does not impair conductivity. Periodic checks with a multimeter and thermal camera help diagnose unseen issues that could eventually lead to system failure. By investing in these diagnostic tools and adopting a disciplined maintenance routine, you’ll keep your AV setup performing at its peak for years to come.
Lessons Only Experience Can Teach About High-End Audio Enhancements
One of the most surprising lessons I learned is that even premium components can fall short if foundational details are overlooked—like choosing the right gauge for speaker wire or ensuring proper connection techniques. I once assumed that high-quality banana plugs would automatically solve connectivity issues, but I realized that proper installation and matching of wire gauge matter more than brand reputation. Another insight was that not all HDMI 2.1 cables are created equal; some may support lower bandwidths despite being marketed as 48Gbps, leading to flickering or lag in 8K setups. The biggest lightbulb moment for me was understanding how power quality directly affects audio fidelity—poor power can introduce subtle hums or static that no amount of component upgrades can fix. These lessons have taught me that meticulous attention to detail and continuous learning are essential to truly optimize a home theater system in 2026 and beyond.
![Why 2026 High-Current Amps Destroy Bare Wire [Use Banana Plugs]](https://cabling.homeavreviewhub.com/wp-content/uploads/2026/04/Why-2026-High-Current-Amps-Destroy-Bare-Wire-Use-Banana-Plugs.jpeg)
![Why Banana Plugs Beat Bare Wire for 2026 High-Current Amps [Data]](https://cabling.homeavreviewhub.com/wp-content/uploads/2026/03/Why-Banana-Plugs-Beat-Bare-Wire-for-2026-High-Current-Amps-Data.jpeg)