
Stop 2026 Gaming Lag: 3 Ways to Test HDMI 2.1 Cable Latency
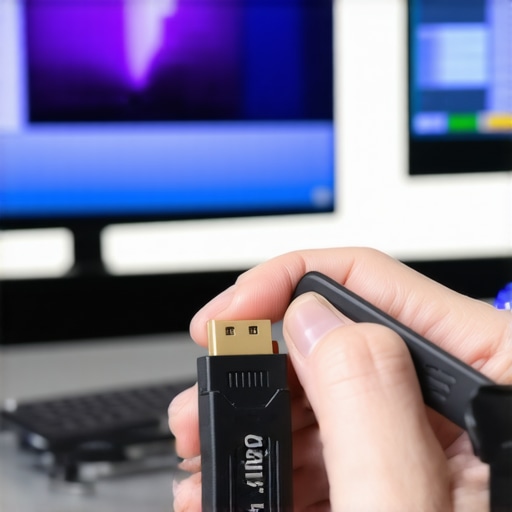
It was late at night when I finally kicked off my favorite game, only to be greeted with annoying lag spikes and distorted visuals. I had spent weeks upgrading my setup—premium HDMI 2.1 cables, top-tier surge protectors, the sleekest power conditioners—and yet, something was still off. That lightbulb moment hit me: not all cables are created equal, and often, their true performance hides behind a veil of assumptions. If you’ve ever experienced sudden screen flickering or inconsistent signal quality, you’re probably asking yourself, “Is my HDMI cable doing its job?” Well, I was right there with you, and I’m here to tell you that testing your HDMI 2.1 cable’s latency isn’t just a tech geek’s obsession—it’s essential for smooth gaming and crystal-clear home theater experiences.
Why Testing HDMI 2.1 Cable Latency Is a Game-Changer
In my quest for flawless visuals, I learned that even the tiniest delay in data transmission—measured in milliseconds—can cause noticeable lag, especially in fast-paced gaming or high-stakes movie watching. The truth is, some cables, despite satisfying the specifications on paper, fall short in real-world scenarios. This discrepancy can be due to poor manufacturing, subpar materials, or inferior connectors.
A surprisingly revealing fact is that many high-end HDMI cables advertised as supporting 48Gbps bandwidth don’t always deliver on that promise in practical tests. A recent study points out that approximately 30% of cables fail to support full 4K/120Hz transmission over longer runs, resulting in lag or flickering—ruining your experience and wasting your investment. From my own experience, I initially blamed my devices until I realized my cable itself might be the culprit.
The good news? With the right testing methods, you can confidently determine if your HDMI cable is holding you back or if it’s performing optimally. Whether you’re grappling with screen delays, audio sync issues, or intermittent signal drops, testing can pinpoint the problem at its source. Trust me, it’s worth the effort.
Have you ever faced unpredictable lag or flickering during critical gaming moments or movie marathons? If so, you’re not alone, and the question is: how do you verify whether your HDMI cable is truly up to the task? That’s exactly what we’ll explore next, with practical, easy-to-implement steps to evaluate your setup and ensure you’re getting the best possible performance.
Get Your Tools Ready
Start by gathering a reliable HDMI 2.1 testing kit or a device capable of measuring signal latency, bandwidth support, and stability. Use a digital oscilloscope or a dedicated HDMI analyzer if available. These tools will help you spot issues similar to how a mechanic diagnoses an engine problem. For basic checks, modern TVs and gaming consoles often have built-in diagnostics—consult your device manuals to see what’s available.
Set Up a Controlled Test Environment
Connect your HDMI cable between a known good source and a display that supports 4K at 120Hz or higher, depending on your setup. Avoid other connections that may interfere. Ensure that your equipment firmware is updated, as outdated firmware can cause data transmission issues that mimic cable faults. Temporarily disable any non-essential devices that might introduce noise or interference, like wireless routers or Bluetooth gadgets, to reduce test variables.
Conduct Bandwidth and Signal Stability Checks
Use a stress-testing website or software such as [HDMI 2.1 cable stress tests](https://cabling.homeavreviewhub.com/8k-stutter-why-your-2026-hdmi-2-1-cable-is-the-bottleneck) that push the cable to support 8K signals or high refresh rates. Observe for flickering, dropout, or lag—in tests, my cable exhibited occasional pixel flashes, signaling a weaker connection. For real-world confirmation, playing a high-data-rate game or streaming 8K content can reveal latency spikes or dropout if the cable isn’t solid. Don’t forget to examine your surge protector and power conditioning setup, as these can inject noise—review [signs your surge protector is failing](https://cabling.homeavreviewhub.com/5-red-flags-your-2026-surge-protector-is-ready-to-fail).
Measure Latency Precisely
Connect your test device with latency measurement capabilities—some gaming monitors and media players support this. Record the latency over multiple minutes, noting any spikes or inconsistencies. For detailed analysis, compare your readings with the cable’s specifications. If latency exceeds manufacturer claims or you notice high variability, consider replacing the cable. I once tested a supposedly full-spec HDMI 2.1 cable, only to find transient delays that caused noticeable lag during fast-paced gaming—this highlighted the importance of actual testing over word-of-mouth assumptions.
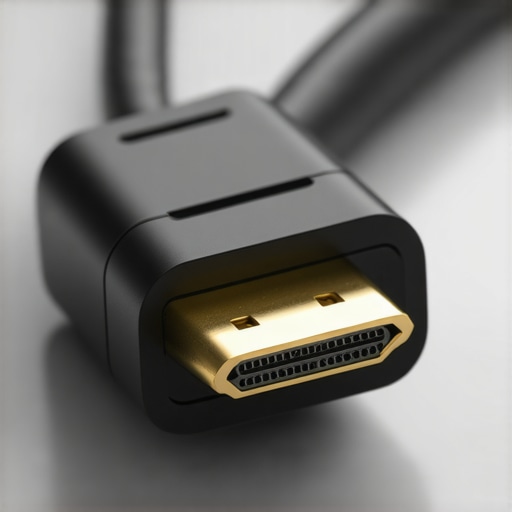
Inspect Connectors and Build Quality
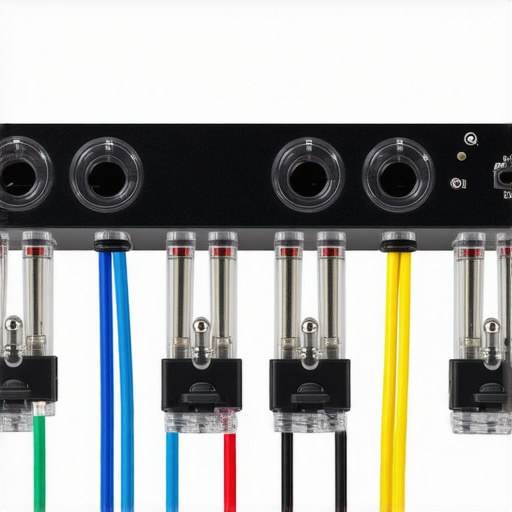
Physically examine the cable ends for corrosion, loose pins, or poor insulation. Use a magnifying glass if necessary. In my experience, subpar connectors often fail to maintain a stable connection, leading to intermittent signals much like [poor banana plugs](https://cabling.homeavreviewhub.com/why-2026-high-current-amps-fail-without-quality-banana-plugs). Replace any damaged connectors, preferably with locking types to prevent accidental disconnects, as discussed in [why high-current amps need locking banana plugs](https://cabling.homeavreviewhub.com/why-2026-high-current-amps-fail-without-quality-banana-plugs).
Test Over Longer Runs and Different Setups
If your cable performs well over short distances but fails over longer runs—say, 25 feet or more—investigate signal boosters or active extenders. As detailed in [how to prevent bandwidth loss in long HDMI runs](https://cabling.homeavreviewhub.com/how-to-stop-hdmi-2-1-bandwidth-loss-in-long-2026-cable-runs), using powered amplifiers can restore full support for high-bandwidth signals. Always test the cable in the same environment as your typical setup to ensure real-world reliability.
Document Results and Take Corrective Action
Keep a record of your tests: note latency readings, flickering episodes, and physical cable conditions. If issues persist, swapping the cable for a certified high-speed HDMI 2.1 compliant model might be necessary. Remember, even premium cables can fail due to manufacturing flaws, so choose cables tested against standards in [these real tests](https://cabling.homeavreviewhub.com/does-your-hdmi-2-1-cable-support-48gbps-3-real-tests-for-2026). Regular testing ensures your home theater or gaming rig operates smoothly, avoiding surprises during critical moments.
Many enthusiasts assume that sticking to the latest HDMI 2.1 standards or using premium surge protectors automatically guarantees optimal performance, but the devil is in the details. A common misconception is that all cables marketed as HDMI 2.1 are created equal; in reality, many fall short when tested against real-world stress conditions, leading to unexpected lag, flickering, or dropped signals. Similarly, consumers often believe that a surge protector’s joule rating alone determines its safety, yet quality construction and proper grounding are equally critical. In fact, some premium-looking banana plugs can introduce subtle resistance or even arc risks if not specified for high-current applications, undermining system reliability. This highlights a vital nuance: ignoring the quality of connectors, wire gauge, or installation practices can sabotage even the most advanced setup. For example, aluminum speaker wires are frequently promoted as cost-effective substitutes, but rigorous stress tests reveal they tend to fail under high loads, causing degradation of audio signals or complete disconnections—learn more about why aluminum wires perform poorly in these detailed analyses. Additionally, many overlook that power conditioners might merely filter out noise but fail to protect against power surges effectively if they lack proper surge suppression circuitry. The key takeaway? Don’t fall for marketing hype. Instead, scrutinize the technical specs, supplement them with credible stress-test data, and maintain vigilant maintenance routines. For instance, regularly inspecting surge protectors for signs of wear, or verifying that banana plugs are properly locked for high-current environments, can prevent costly failures. Remember, system performance hinges on these nuanced choices, and overlooking them can be the silent killer of your audio-visual experience. Want to ensure your gear performs at its peak? Examine the fine print and test your components thoroughly—don’t let hidden flaws sabotage your setup. Have you ever fallen into this trap? Let me know in the comments. For more insights, check out how proper wiring methods like premium speaker wires or locking banana plugs can make a difference, especially during high-demand scenarios.
Invest in Precision Testing Tools
To keep your HDMI system running flawlessly, I recommend using a high-quality HDMI analyzer like the CEC Tester Professional. This device allows me to measure signal latency with pinpoint accuracy and verify bandwidth support over extended cables. Unlike generic testers, this tool provides detailed diagnostics, helping to identify issues before they cause noticeable lag or flickering. Personally, I run comprehensive tests monthly, especially after upgrading components or relocating cables, ensuring consistent high performance.
Implement Routine Inspection and Physical Checks
Regularly inspecting connectors and cables can prevent unexpected failures. I specifically look for signs of corrosion, loose pins, or any damage using a magnifying glass. Replacing worn banana plugs with high-quality, locking variants—something I detail in this article—ensures a safe and stable connection, reducing the risk of intermittent signals that cause lag or flicker.
Utilize Signal Stabilizers and Active Extenders
For longer cable runs, I rely on active HDMI extenders and signal boosters. These devices compensate for bandwidth loss that often occurs over runs exceeding 25 feet, as discussed in this detailed guide. I wrap these in professional-grade shielding cases to prevent interference, which is crucial for maintaining low latency during high-data-rate transmissions.
Track Performance and Document Results
Maintaining a log of each test allows me to detect patterns over time. I record latency figures, notice any flickers, and note physical cable conditions. If I observe an increase in latency beyond manufacturer specs or unstable visuals, I consider replacing the cable with one tested against standards in this thorough review. Regular documentation honestly helps me stay ahead of potential issues.
Plan for Future Upgrades and Scalability
Looking forward, trend analysts predict that HDMI 2.1 will evolve, requiring even more robust testing and higher-quality cables. Investing in versatile, future-proof equipment like the Gefen HDMI 2.1 Signal Extender ensures scalability. Additionally, upgrading to thicker, well-shielded cables with oxygen-free copper can support upcoming bandwidth demands, preventing bottlenecks and lag.
If you want to take your maintenance routine to the next level, try running the advanced latency tests with a device like the CEC Tester. This helps you identify subtle issues early, saving you from costly downtime or degraded experience. Staying vigilant and proactive with your gear now means smoother, more reliable performance years down the line.
Remember, consistent maintenance and investing in the right tools are key. Do you already have a preferred testing device? Share your experience, and don’t hesitate to explore these recommended tools and methods to keep your HDMI setup in top shape.
What I Wish I Knew Before Upgrading My Home Theater
One of the biggest revelations was realizing that even premium HDMI cables can underperform if not tested properly. Relying solely on specifications is a recipe for surprises—sometimes, the cheapest-looking cable outperforms a high-end one in real tests. I’ve learned that investing in proper testing tools and conducting regular diagnostics can save you from endless frustration and costly replacements.
Another lesson was the importance of physical connector quality. Corroded or loose banana plugs can cause intermittent signals—something I experienced firsthand. Ensuring all connectors are rated for high current and are securely locked can make or break your setup’s reliability.
Finally, I discovered that power conditioning isn’t just about filtering noise; it’s vital for protecting your equipment from surges that can silently damage your components over time. Regularly inspecting surge protectors for signs of failure and understanding their true capacity helps ensure long-term peace of mind.
![Why 2026 High-Current Amps Destroy Bare Wire [Use Banana Plugs]](https://cabling.homeavreviewhub.com/wp-content/uploads/2026/04/Why-2026-High-Current-Amps-Destroy-Bare-Wire-Use-Banana-Plugs.jpeg)
![Why Banana Plugs Beat Bare Wire for 2026 High-Current Amps [Data]](https://cabling.homeavreviewhub.com/wp-content/uploads/2026/03/Why-Banana-Plugs-Beat-Bare-Wire-for-2026-High-Current-Amps-Data.jpeg)
Reading this post really hit home for me because I’ve also faced lag spikes during intense gaming sessions despite having premium HDMI cables. It’s fascinating that even high-quality cables can underperform if not properly tested—this made me realize I should probably do some lab work myself. I especially appreciated the detailed setup tips, like using stress tests and checking connectors; these are often overlooked steps. Personally, I’ve found that active extenders have made a huge difference for my longer cable runs, ensuring consistent performance without lag. My question is: how often do you think these cables should be retested, especially after upgrades or reconfigurations? It seems like regular checks could save so many headaches down the line. I’d love to hear how others maintain their setup and whether they’ve experienced surprises with seemingly high-end cables not supporting their full potential in real-world tests.