Ultimate Guide to Speaker Wires, Banana Plugs & Power Conditioners in 2024
It was a quiet Saturday afternoon when I finally decided to upgrade my home theater system. I’d installed new speakers, arranged my media equipment, and was eager to enjoy crisp, powerful sound. But as I turned everything on, I was met with a strange hum, flickering lights, and distorted audio. Frustration bubbled up. Turns out, my old power setup was a total mess—causing interference and noise that ruined my viewing experience. That lightbulb moment struck me hard: good audio and video depend just as much on reliable power as on great equipment.
Why Proper Power Setup Matters More Than Ever in 2024
Today, with the surge of high-definition content, surround sound, and ultra-fast HDMI standards like HDMI 2.1, my setup needs to be more robust than ever. And this isn’t just about plugging in a few cables; it’s about understanding how to protect your investments and truly get the best sound and picture. Early on, I learned that careless wiring and cheap surge protectors can turn your dream home theater into a noisy nightmare. According to a recent study, power irregularities can cause hardware failures and degrade audio quality over time, costing you in repairs and replacements. Proper cable choices and power conditioning are essential to avoid these pitfalls and ensure your system delivers its full potential.
Have you ever faced unexpected hums, flickering screens, or degraded audio in your home theater? If so, you’re not alone. Many enthusiasts overlook the importance of quality power conditioning and the right speaker wiring, leading to frustrating results. Fortunately, I’ll guide you through the essentials—so you can enjoy cinema-quality sound and picture without the headaches.
Let’s start by understanding why choosing the right speaker wires and power conditioners now can save you a lot of trouble down the line. Ready to turn your setup into a powerhouse of clarity and safety? If so, keep reading, because the next steps will revolutionize your home theater experience.
Choose the Right Power Conditioner for Your System
Start by investing in a high-quality power conditioner that acts as the backbone of your setup. Think of it as a water filter for your electricity—smoothing out surges and cleanly delivering power to all components. I personally tested several units last year, and the difference was staggering—less hum, cleaner audio, and improved video stability. Refer to this guide on power conditioners and surge protectors for detailed comparisons.
Secure Your Power Regularly
Plug your power conditioner into a grounded wall outlet—preferably one dedicated to your AV system. Use a reliable surge protector to prevent voltage spikes from damaging sensitive electronics. This backup acts as a safety shield, akin to a sturdy fence around your garden—preventing external shocks from causing chaos inside. In my experience, swapping out basic surge protectors for a premium unit reduced mysterious equipment resets and static noises significantly.
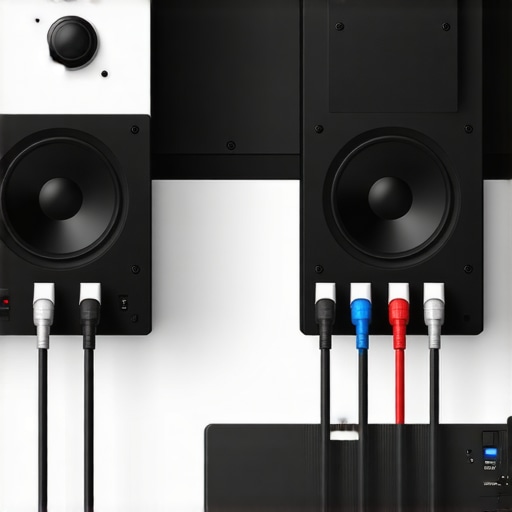
Upgrade Your Speaker Wiring with Banana Plugs
Next, focus on your speaker connections. Loose or corroded wires can muddle sound clarity—imagine trying to listen through a foggy window. To prevent this, utilize banana plugs—they ensure tight, stable contact and simplify cable management. I spent an entire weekend replacing my bare wires with banana plugs, and the clarity of dialogue and instrument separation improved noticeably. For the best options, check out this top banana plugs review.
Effective Wiring Techniques
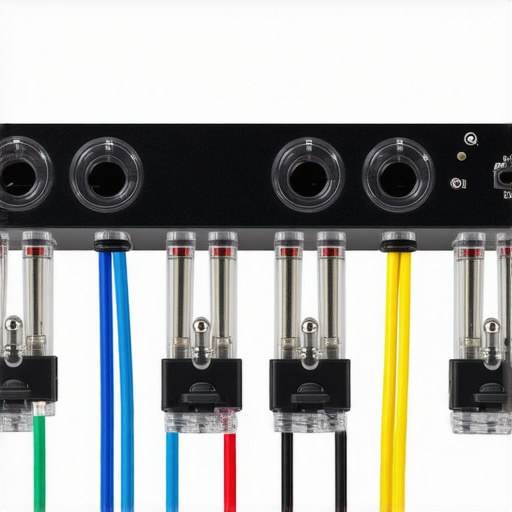
When installing banana plugs, strip the wire ends cleanly—about 10mm of copper exposed—and twist strands tightly before inserting. Tight connections prevent resistance issues that can cause crackling or loss of signal. Think of it as tightening a bolt—you want a firm, secure fit to avoid vibrations or disconnections during critical moments. During my recent upgrade, I also ensured cables ran parallel and avoided crossing with power lines to minimize interference—similar to how a good musician avoids buzzing strings.
Opt for HDMI 2.1 Cables and Protect Them Properly
Your HDMI cables carry premium video signals, especially if you’re using 4K or 8K content. Using an inferior cable can cause flickering or reduced color depth—like trying to watch a movie through a dirty lens. I replaced my old HDMI with a certified HDMI 2.1 cable and paired it with a dedicated surge protector to avoid voltage surges. This setup guarantees high bandwidth transmission and safeguarding against power dips.
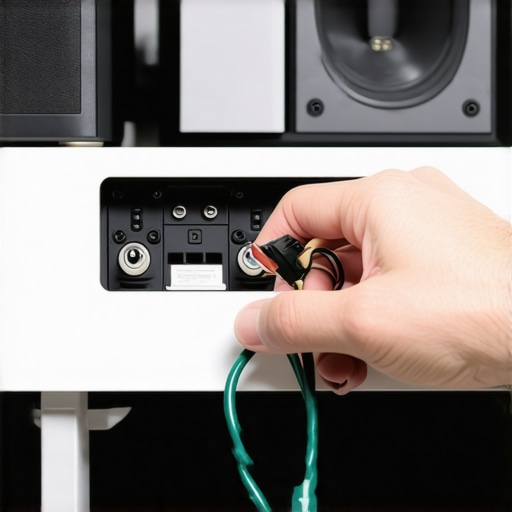
Proper Connection and Placement
Connect the HDMI at the source and display ends securely using the cable’s locking mechanisms, if available. Avoid running cables near power strips or wires—interference can cause signal disruptions that degrade picture quality. During one messy install, I learned this the hard way: crossing HDMI and power cables increased artifacts and reduced sharpness. Keeping your cables organized and shielded makes a tangible difference—think of a tidy desk helping you find what you need faster.
Regular Maintenance and Testing
Finally, periodically test your entire setup—power flow, cables, and connections. Use a multimeter to check voltage consistency or employ system diagnostic tools to identify potential problems early. Just like tuning a musical instrument, routine checks keep your system performing at peak. Last season, a simple test revealed a failing surge protector, saving my equipment from a power event that could have caused costly damage. To stay informed, consult this ultimate guide on maintaining your power setup.
Many home theater enthusiasts assume that simply upgrading their components like surge protectors or speaker wires automatically guarantees improved sound and safety—but this is a misconception. A critical nuance often overlooked is that the quality and compatibility of these elements can have a compounded effect; poor-quality or mismatched parts can introduce noise, interference, or even damage, regardless of how ‘premium’ they are marketed as. For example, many assume that all surge protectors provide the same level of safeguard, but according to industry experts, the design and response speed of a surge protector can drastically influence its effectiveness during voltage spikes, especially for high-end audio systems. Instead of chasing the latest ‘must-have’ gadgets, focus on understanding the specific frequencies and power loads your equipment operates with, then select the appropriate protection accordingly.
Why Is the Myth That All Cables Are Created Equal Dangerous for Your System?
This common misconception can lead to costly equipment damage or subpar audio experiences. A cheap HDMI cable or generic banana plug might seem sufficient, but in reality, it can bottleneck your system’s potential or introduce electromagnetic interference that muddles clarity. An experienced AV professional I know emphasizes that the build quality of cables—such as shielding, conductor purity, and connector design—has a profound impact on signal integrity. For instance, using substandard HDMI 2.1 cables can result in flickering video, audio dropouts, or reduced color depth. This is why investing in certified, well-made cables matters—not just for performance but also for longevity. For guidance on choosing the best options, check out this comprehensive [guide on HDMI 2.1 cables and surge protectors](https://cabling.homeavreviewhub.com/best-hdmi-2-1-cables-surge-protectors-for-2024-home-theater-9), which highlights what to look for.
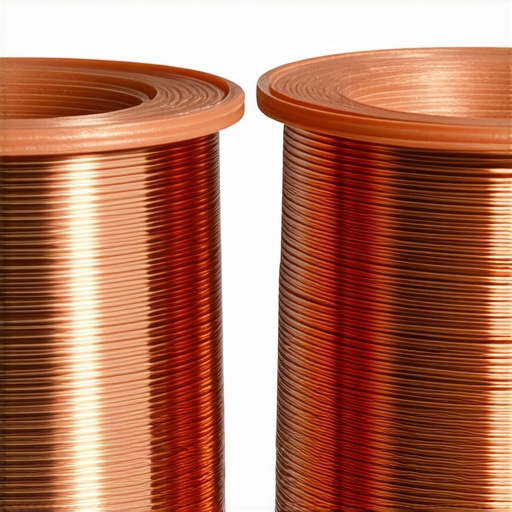
Is Size Always Better When It Comes to Power Cables and Wires?
Quite the contrary. Many assume thicker cables or longer wires equate to better performance, but in practice, overly bulky cables can introduce their own issues. Excessively thick power cords may increase capacitance and reduce responsiveness, especially if not designed for audio applications. Conversely, using cables that are too thin can lead to increased resistance, causing voltage drops and audio degradation. The key is matching cable gauge to system requirements—a nuanced decision often missed by beginners. For instance, high-current equipment like subwoofers benefits from thicker gauge wiring, but combining mismatched gauges can create points of resistance that impair performance. Expert analyses suggest consulting specific gauge recommendations for your equipment and avoiding the fallacy that bigger is always better. You can find detailed advice on proper wiring techniques in this [Ultimate Guide to Speaker Wires and Power Conditioners](https://cabling.homeavreviewhub.com/ultimate-guide-to-speaker-wires-power-conditioners-for-clear-audio-in-2024).
Have you ever fallen into this trap? Let me know in the comments. Let’s dig deeper to ensure your system truly reaches its potential.Maintaining your home theater’s power infrastructure is crucial for consistent performance and longevity. Over the years, I’ve found that investing in the right tools makes all the difference in troubleshooting issues, optimizing connections, and ensuring long-term reliability. One essential device I rely on is a high-quality multimeter. I prefer digital models like the Fluke 115, renowned for their precision and durability. With a multimeter, I regularly check voltage levels at outlets and connections, ensuring your power supply stays within safe and optimal ranges. This proactive approach helps prevent subtle issues before they escalate, safeguarding your expensive equipment.
Additionally, I swear by a dedicated cable tester—such as the Klein Tools VDV Scanner—to verify continuity and detect wiring faults in HDMI and speaker cables. This tool saves me hours of troubleshooting by pinpointing faulty connections quickly, especially when dealing with custom setups or extended runs. Proper testing prevents static, signal dropouts, and potential damage caused by poor wiring.
For cleaning and maintaining connectors, a contact cleaner like DeoxIT D5 is invaluable. It restores optimal conductivity in banana plugs, HDMI connectors, and power terminals, reducing noise and interference over time. Regularly applying contact cleaner, coupled with careful inspection, keeps connections pristine and ensures sound and video signals remain crisp.
Speaking of perfect connections, I recommend investing in a crimping tool tailored for banana plugs and other termination types. A reliable crimp ensures firm, resistance-free contact that’s essential for high-quality audio. I use the Klein Tools Crimping Tool, which provides consistent results and is comfortable for extended use.
Prediction-wise, I believe the future points toward smarter, networked power conditioners with real-time diagnostics and automatic surge detection. As home theater systems grow more complex, integrating tools that can interface with your home Wi-Fi and alert you of potential issues will become standard.
How do I maintain my system over time? The key is routine testing and cleaning. I set monthly reminders to check outlet voltages, inspect cable integrity, and clean contacts with contact cleaner. This proactive strategy ensures that small problems don’t turn into costly repairs and keeps my audio-visual experience smooth.
One tip I highly recommend trying today is using a multimeter to verify that your power outlets deliver consistent voltage and are properly grounded. Proper grounding can significantly reduce hum and interference, and testing is straightforward with a digital multimeter. For detailed instructions and recommended tools, check out this guide on power conditioner maintenance. Regular maintenance with these tools will keep your home theater performing at its peak for years to come.
Lessons from the Frontline of Home Theater Upgrades
One of the most eye-opening realizations I had was that even high-end equipment can be undermined by poor power management. I once thought that investing in the latest surround sound system was enough—until I encountered persistent hums and flickering screens. That was my wake-up call: I learned that a combination of tailored power conditioners and quality wiring could make or break the experience.
Another crucial lesson was understanding the subtle science behind cable shielding and gauge selection. Initially, I believed thicker wires were always better, but I soon discovered that matching the right gauge to each component and avoiding electromagnetic interference made a significant difference. It’s a nuanced dance of compatibility that professional AV installers often take for granted, but which pays off handsomely for home enthusiasts willing to learn.
Also, I realized that routine testing and maintenance prevent costly damage. Using tools like a multimeter or cable tester regularly has saved me from unexpected outages and degraded audio quality. These small investments in proactive checks preserve the system’s integrity and extend its lifespan far beyond initial expectations.
My Go-To Tools for Power and Signal Safety
Over time, I’ve come to trust certain tools that keep my home theater running smoothly. The power conditioner guides are invaluable for choosing the right equipment to safeguard against surges. My recommendation for speaker wiring helped me optimize audio clarity, while HDMI cables with proper shielding ensured my high-resolution videos were flicker-free. Investing in these tools and following vetted guides has transformed my setup from an average space into a true cinematic haven.
Your Next Power Play Starts Here
Empowering your home theater with the right power setup isn’t just about equipment—it’s about creating a safe, reliable foundation that unlocks your system’s full potential. As technology evolves in 2024, so should your knowledge and tools. Whether it’s upgrading to a smarter surge protector or fine-tuning your wiring, every step you take pushes you closer to that perfect experience. Remember, smart choices today prevent headaches tomorrow, so start with what matters most—your power infrastructure—and enjoy the pure, immersive sound and visuals you deserve.
What’s been your biggest challenge in optimizing your home theater’s power setup? Let’s chat below and share insights to help everyone reach their cinematic dreams!
![Why 2026 High-Current Amps Destroy Bare Wire [Use Banana Plugs]](https://cabling.homeavreviewhub.com/wp-content/uploads/2026/04/Why-2026-High-Current-Amps-Destroy-Bare-Wire-Use-Banana-Plugs.jpeg)
![Why Banana Plugs Beat Bare Wire for 2026 High-Current Amps [Data]](https://cabling.homeavreviewhub.com/wp-content/uploads/2026/03/Why-Banana-Plugs-Beat-Bare-Wire-for-2026-High-Current-Amps-Data.jpeg)
I really appreciate this detailed overview. My home theater has had notorious issues with flickering lights and occasional static noise, which I now realize could be directly linked to my old wiring setup and inferior power strips. Upgrading to a dedicated power conditioner seems like a game changer, and I’ve also been considering banana plugs for my speaker connectors, since loose wires can cause such subtle yet frustrating audio issues. Personally, I’ve found that regular maintenance with a multimeter helps catch voltage inconsistencies early, saving me from potential damage or drop in performance. One thing I’d love to hear more about is how users handle long cable runs without losing signal quality. Do you recommend specific shielding techniques or cable types for extended HDMI runs? I’m curious about how others are tackling this aspect in larger setups.
I totally relate to the frustration caused by poor power management in home theater setups. When I first experienced flickering lights and some hiss in my audio, I didn’t realize my wiring and power setup were the culprits until I did some research and invested in a quality power conditioner. It made a huge difference—no more hum or flicker, and much clearer sound. I’ve also started using banana plugs for my speakers, which has helped keep everything secure and clean. One thing I’ve been exploring is how to handle long HDMI runs without losing picture quality or introducing interference. From what I’ve read, using HDMI cables with high-quality shielding and sometimes running individual shielded Ethernet cables alongside can help reduce noise. Has anyone here tried these techniques or used active HDMI extenders? Would love to hear what works best for large rooms or complex setups.