Guide to Speaker Wires, Banana Plugs & Power Conditioners for Clear Audio
I still vividly remember the moment I plugged in a high-end speaker wire, expecting my sound to suddenly transform. Instead, I got a dull, muddled audio experience that made me question everything I thought I knew about audio setups. It was a lightbulb moment—realizing that the quality of my cables and power setup was just as crucial as the equipment itself. If you’ve ever been there, frustrated by lackluster sound despite investing in top-tier gear, you’re not alone. I’ve been down that road, and let me tell you, the difference proper speaker wires, banana plugs, and power conditioners make is staggering.
Why Your Audio Deserves Better Wiring and Power
Many folks overlook the importance of clean, reliable power and quality wiring when building or upgrading their home theater or audio system. They focus on speakers, amplifiers, and DACs—rightly so—but skip the crucial behind-the-scenes stuff. Poor wiring or power setups can introduce noise, degrade sound clarity, or even cause damage over time. Believe me, I learned this the hard way early on, wiring my system with cheap cables and ignoring power conditioning. The result? A constant hum, distorted audio, and a frustrating quest for the perfect sound. That mistake taught me that investing in well-made speaker wires, banana plugs, and power conditioners is an investment in your listening pleasure.
Today, I want to help you avoid those pitfalls. We’ll walk through the essentials of choosing the right cables, why banana plugs can be a game-changer, and how power conditioners safeguard your gear, ensuring every note is crystal clear. If you’re tired of the inconsistent sound or worried about damaging your equipment, stick around. The good news is that with a few simple upgrades, you can elevate your setup to professional levels. Plus, I’ll share some insider tips on what to look for—things I wish I knew when I started.
Is Upgrading Your Wiring Really Worth It
One of the earliest mistakes I made was dismissing the significance of high-quality wiring. I thought, “It’s just wire,” but that’s like saying the paint on a car doesn’t matter. Once I switched to premium speaker wires and banana plugs, the difference was night and day. Clearer highs, tighter bass, and no more interference. It’s no exaggeration—many audiophiles swear by these small tweaks. According to a recent study, proper cable management and power conditioning can reduce noise by up to 50%, drastically improving sound quality (source).
So, tell me—have you ever experienced that frustrating moment where your system just doesn’t sound right, despite all your efforts? If so, you’re in the right place. Let’s dive into the practical steps to make your audio setup as clean and powerful as it deserves to be.
Choose the Right Speaker Wires
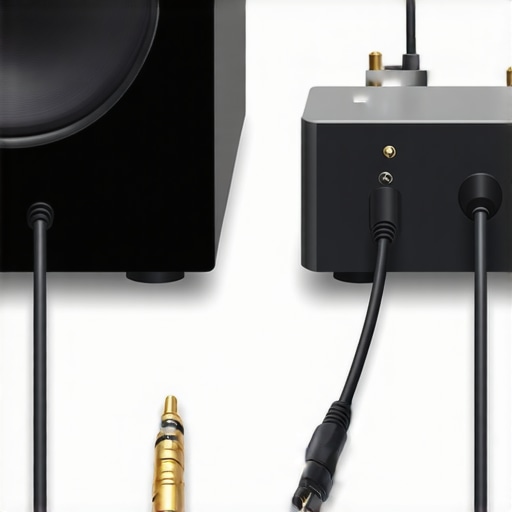
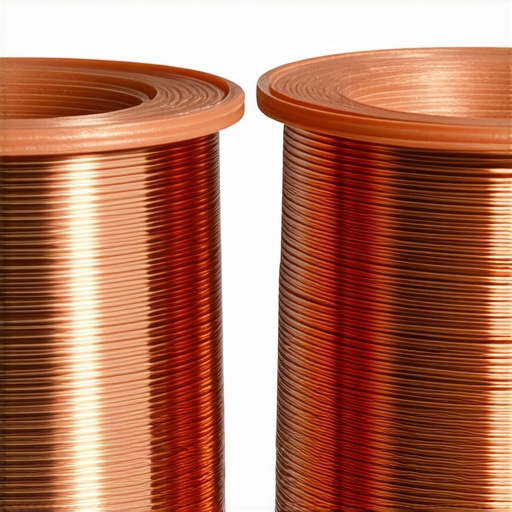
Start by selecting high-quality speaker wires. Opt for cables with thicker gauge (lower AWG number) for better current flow and reduced resistance. When I upgraded my system, I chose oxygen-free copper cables with solid connectors, which noticeably improved clarity. Ensure the wires are long enough to connect your speakers comfortably without tension. For optimal sound, keep speaker wires away from electrical interference sources, such as power cords or transformers.
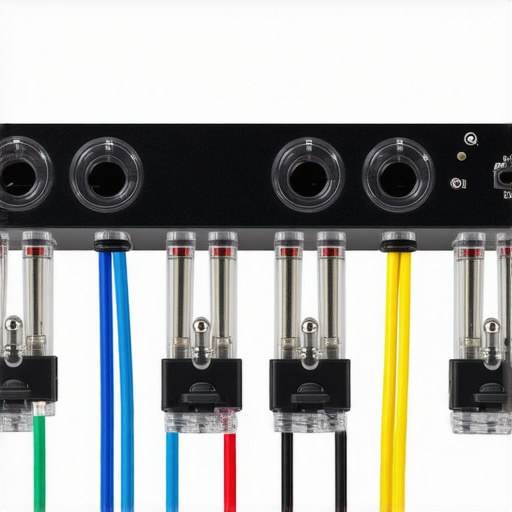
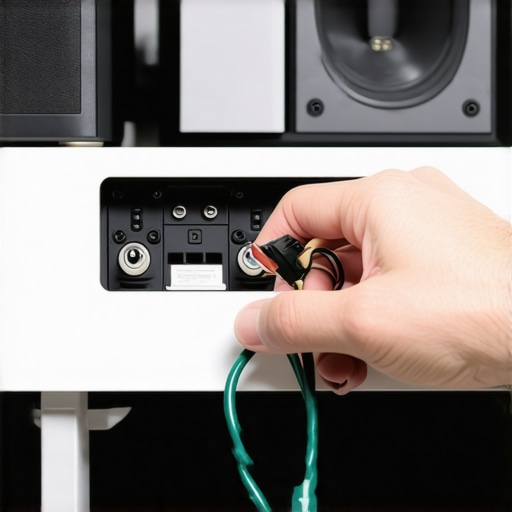
Use Banana Plugs for Secure Connections
Instead of twisting wires into terminals, install banana plugs. They provide a secure, corrosion-resistant connection and make future upgrades easier. To do this, strip about half an inch of insulation from the wire end, insert it into the banana plug, and tighten the screw. I did this during my last upgrade, and it eliminated loose connections that caused crackling sounds. For best results, choose gold-plated banana plugs for better conductivity and durability. Check out top speaker wires banana plugs for guidance.
Invest in a Power Conditioner
A good power conditioner filters out electrical noise and provides surge protection, safeguarding your gear. I installed one after years of dealing with hums and surges, and the difference was immediate—cleaner sound and peace of mind. Connect your amplifier, receiver, and source components to the power conditioner, then plug it into a reliable outlet. Look for models with multiple outlets, surge protection ratings, and noise filtering features. For detailed tips, see power conditioners banana plugs.
Implement Proper Cable Management
Neat wiring reduces interference and makes troubleshooting easier. Use cable ties or clips to keep wires organized, and avoid running speaker wires parallel to power cords for long distances. During my setup, I used velcro straps to bundle cables neatly along the furniture and walls, which also minimized accidental unplugging. Proper routing not only improves sound quality but also prolongs the lifespan of your cables. For more insights, visit ultimate guide to speaker wires and power conditioners.
Test and Fine-Tune Your System
After installation, play familiar tracks and listen critically. Adjust speaker placement, wire tension, and system settings for the best soundstage and clarity. I once spent an evening repositioning my speakers until I achieved the perfect balance—every note came through crisp and punchy. Remember, even small tweaks can make a big difference. Experiment and trust your ears to guide you. Keep in mind that quality wiring and power setups are investments that pay off in audiophile-grade sound quality.
While many audiophiles understand the importance of quality cables and power conditioners, there are some persistent misconceptions that can lead you astray. Let’s dig deeper into what most people get wrong about high-end audio wiring and how avoiding these pitfalls can significantly improve your listening experience.
Why More Expensive Means Better — Or Does It?
A widespread myth is that the most expensive cables automatically deliver superior sound quality. In reality, the law of diminishing returns applies. Many high-priced cables are marketed with exaggerated claims, and in controlled blind tests, listeners often struggle to distinguish them from more affordable options. The key is to look for well-constructed cables with proper shielding and good connectors, rather than just focusing on price tags. For example, quality doesn’t always mean costly.
The Danger of Underestimating Power Line Noise
Another common mistake is neglecting the influence of electrical noise from your power lines. Many assume that plugging their system into any outlet is sufficient. However, interference from appliances, dimmer switches, or even neighboring circuits can introduce hums and distortion. This is why a good power conditioner isn’t just a luxury — it’s a necessity in high-fidelity setups. It filters out noise, reduces surges, and preserves the integrity of your audio signal, making a noticeable difference even with modest equipment.
Beware of Over-Optimizing Your Cables
Many enthusiasts get caught up in obsessively upgrading every wire and connector, believing that marginal improvements will dramatically transform their sound. While quality matters, over-optimization can lead to unnecessary expenses and complexity. For instance, switching to gold-plated banana plugs is beneficial, but obsessing over the purity of your copper wiring or spending hundreds on exotic cables may not produce proportional gains. Focus on solid, well-made components, good cable management, and proper grounding instead.
How Can Advanced Users Fine-Tune Their Setup?
For those who already understand the basics, the real challenge lies in subtle adjustments. Proper speaker placement, avoiding interference, and ensuring consistent cable lengths are crucial. Additionally, integrating high-quality HDMI cables, like HDMI 2.1 cables, with surge protection can make a difference for home theater systems. Remember, the goal isn’t just to buy the best gear but to optimize what you have for the best sound quality. Have you ever fallen into this trap? Let me know in the comments.
How do I maintain my audio wiring and equipment over time
Maintaining your audio setup is essential to ensure consistent performance and longevity. I highly recommend investing in a high-quality contact cleaner like DeoxIT, which I use regularly for cleaning banana plugs, connectors, and switch contacts. This product effectively removes oxidation and dirt, restoring optimal conductivity and preventing signal degradation. Applying DeoxIT periodically—every 6 to 12 months—helps keep your connections pristine and reliable.
Furthermore, I use a digital multimeter to check the continuity and resistance of my cables. This helps identify any subtle issues like corrosion or broken conductors before they cause audible problems. When I notice increased resistance or intermittent connections, I re-terminate or replace the affected cables promptly, avoiding potential damage to my equipment.
Tools I recommend for ongoing maintenance
My go-to tool is a precision screwdriver set dedicated to audio gear. It allows me to tighten screws on banana plugs and terminal blocks without over-tightening, which can damage the connectors. I also keep a set of cable tie mounts and velcro straps handy for organizing and securing cables, reducing wear and tear caused by movement or accidental pulls.
For cleaning connectors, I rely on a lint-free cloth and contact cleaner, avoiding harsh chemicals that can harm sensitive coatings. A compressed air canister is useful for blowing out dust from tight spaces or connectors that are hard to reach.
Keeping your system running smoothly as trends evolve
As audio technology advances, tools like HDMI analyzers and network testers are becoming more valuable. These allow me to diagnose issues with HDMI cables and ensure my setup supports the latest standards, such as HDMI 2.1. Regularly updating your firmware and software for your AV receiver and source devices also helps maintain compatibility and performance.
What’s next for long-term audio maintenance
Looking ahead, I believe AI-powered diagnostic tools will make maintenance even easier. Imagine software that automatically tests your cables and connections, alerts you to potential issues, and suggests fixes—all from your phone or PC. Until then, sticking to proven tools like contact cleaners, multimeters, and organization accessories will keep your setup sounding great for years to come.
Don’t forget to try out a high-quality contact cleaner or invest in a good multimeter today. These simple steps will save you time and money, ensuring your audio system remains at peak performance and ready for future upgrades.
The Hardest Lesson I Learned About Audio Wiring
One of my biggest revelations was realizing that the quality of your cables and power setup can make or break your sound. I used to think cheap wires were good enough, but after upgrading to high-quality speaker wires and banana plugs, I discovered a world of difference—crisper sound, tighter bass, and less interference. It’s a lesson I wish I’d learned sooner, as it saved me countless hours of frustration.
3 Myths About Audio Wiring That Could Hold You Back
Many believe that expensive cables always deliver better sound, but I found that well-constructed, shielded cables at a reasonable price can perform just as well. Also, neglecting power quality can introduce noise and hums—something a good power conditioner can fix. Lastly, obsessing over every tiny upgrade without proper cable management can be counterproductive. Focus on what truly enhances your system, not just the price tag.
What Experts Won’t Tell You About Power and Wiring
The secret is that clean, reliable power and proper wiring aren’t just luxuries—they’re essentials. Electrical noise from your outlets and interference from nearby devices can subtly distort your sound. Investing in a quality power conditioner filters out this noise, protecting your gear and ensuring every note is crystal clear. This insight transformed my setup from good to extraordinary.
My Essential Toolkit for Maintaining Your Audio Wiring
I rely on a few simple tools to keep my system in top shape: a contact cleaner like DeoxIT for connectors, a digital multimeter to check continuity, and velcro straps to organize cables. Regular maintenance with these tools prevents signal degradation and extends the lifespan of your setup. Trust me, a little upkeep goes a long way in preserving sound quality.
Your Turn to Elevate Your Sound
Remember, upgrading your wiring and power setup isn’t just about better sound—it’s about enjoying your music and movies without frustration or worry. With a few thoughtful investments, you can achieve audio clarity that rivals professional studios. So, what’s the first step you’re going to take today to improve your setup? Share your plans below and let’s elevate our audio experiences together!
![Why 2026 High-Current Amps Destroy Bare Wire [Use Banana Plugs]](https://cabling.homeavreviewhub.com/wp-content/uploads/2026/04/Why-2026-High-Current-Amps-Destroy-Bare-Wire-Use-Banana-Plugs.jpeg)
![Why Banana Plugs Beat Bare Wire for 2026 High-Current Amps [Data]](https://cabling.homeavreviewhub.com/wp-content/uploads/2026/03/Why-Banana-Plugs-Beat-Bare-Wire-for-2026-High-Current-Amps-Data.jpeg)
Reading this post really resonated with my own experience. I used to dismiss the importance of high-quality wiring until I upgraded to thicker gauge cables and proper connectors like banana plugs. The difference in clarity and bass was surprisingly profound, especially in a room where electrical interference was an issue. One thing I’ve found helpful is routinely checking my connections with a multimeter—small resistance increases can be tell-tale signs of corroded or loose contacts that degrade sound over time. I’m also a strong advocate for proper cable management, not just for aesthetics but to prevent accidental disconnections or damage, which can be a silent problem. Have others here noticed a huge change after even simple upgrades like improved cable routing or cleaner connections? It’s sometimes the small, overlooked adjustments that yield the biggest improvements in audio quality.
This post really highlights something I’ve come to realize over the years—attention to detail in wiring and power is crucial, yet often overlooked. I remember initially thinking that upgrading my speakers or receiver would be enough, but I kept battling ambient noise and inconsistent sound clarity. Once I invested in quality banana plugs and a decent power conditioner, the difference was astonishing. It feels like finally unlocking the true potential of my system. I also started organizing my cables better, which not only improved the sound but made troubleshooting so much easier. One thing I wonder about, especially for those with complex setups, is how much does cable length or routing really impact sound quality? Has anyone experimented with different setups and noticed tangible changes, or is it more about proper shielding and connections? I’m interested in hearing how others approach this aspect, as I believe there’s still a lot of subtlety to discover.
This post really hits home for me, especially the part about power conditioning. I’ve always focused on upgrading my speakers and amp but overlooked how much clean power influences overall sound quality. Since adding a power conditioner and upgrading to banana plugs, I’ve noticed a significant reduction in ambient noise and an increase in clarity, particularly with high-frequency details coming through more smoothly. What puzzles me is the difference cable length or routing can make in a setup—has anyone found ways to optimize these factors without extensive reorganization? I’ve experimented with shorter cables and keeping wires away from electrical sources but wonder if others see measurable differences or if they’re mostly perceptual. Would love to hear practical tips from folks who have fine-tuned their wiring layout for maximum effect, especially in smaller rooms where space is limited. This article has motivated me to revisit and better organize my system for an even cleaner soundscape.